Starting with object generation 4.77 you can generate low and high limits for fit parameters automatically when you generate them – at least for thickness values. In the fit options dialog (File/Options/Fit) you can set a percentage (lower right corner) which is used to compute the low and high limit of the available thickness range. The reference value is the thickness value at the time the new fit parameter is generated.
Note that the automatically generated range is also the range of parameter sliders that are based on fit parameters.
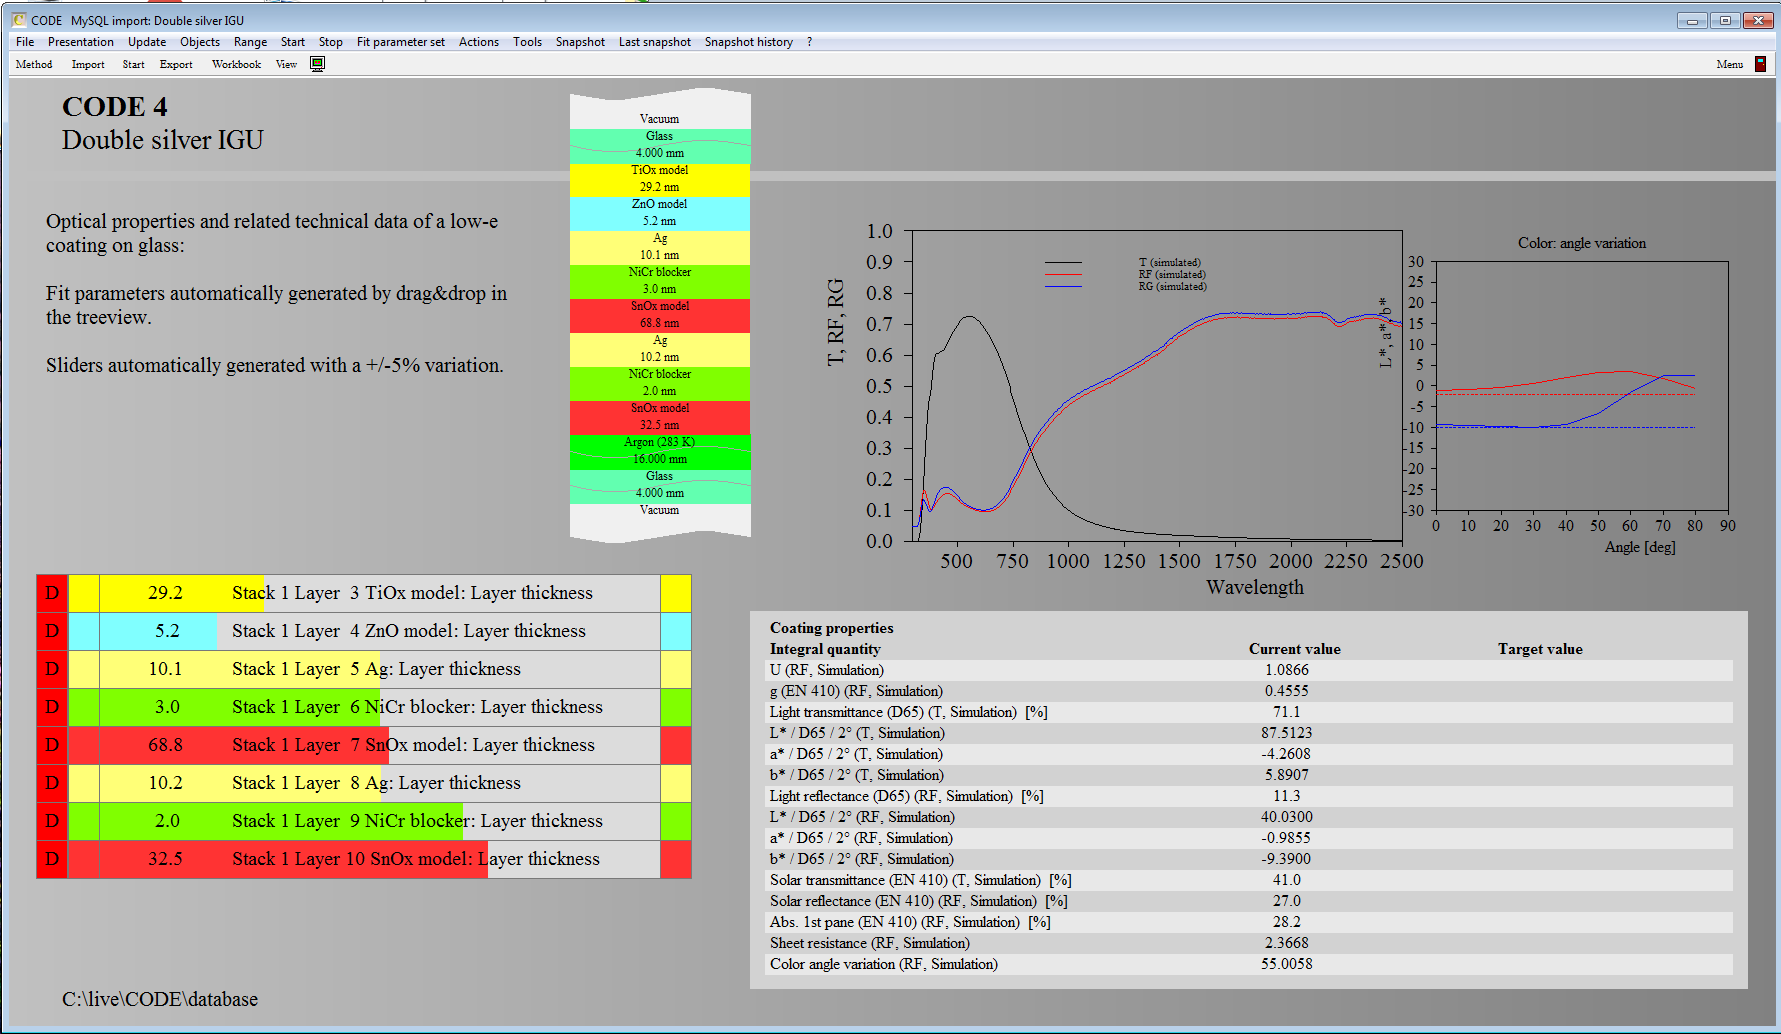
Note also that you can automatically generate thin film thickness values as fit parameters by drag&drop of a layer stack to the list of fit parameters in the treeview. If the list of fit parameters is shown in a view this is certainly the fastest way of generating thickness sliders.
Here is an example showing sliders with limits of +/-5% that have been generated automatically:
The format of Optoplex NGQ csv files has been changed and we had to modify our import routine to match the new structure of the files – the new procedure is active starting with object generation 4.68. This may eventually cause trouble if you are still working with the older format. Please tell us if that happens …
This problem has been described in a previous post. The recommended installation of the Microsoft redistributable package does not seem to solve the problem in every case.
We have made the missing DLLs available on our website. You can download the files here and copy them to your SCOUT or CODE program folder directly, without executing any installation routine.
The relevant program folders are (very likely) c:\scout\ (in the case of SCOUT) or c:\code\ (for the CODE software).
With version 4.56 we have removed a bug in master models for optical constants. Saving a successful model and re-loading it could lead to a strange mix-up of parameter values in some situations, leaving the poor user with a useless configuration. We recently taught CODE and SCOUT to correctly count master and slave parameters – saving and loading should work now.
If you try to run CODE, SCOUT or SPRAY with object generation 4.50 or higher and you get this message please install the Visual C++ Redistributable package for Visual Studio 2013. Here is the link:
When I try to start the software I get the message: ‘This program can be used as OLE server only!’. What does that mean?
The program has been installed with a passport file which allows to run the program as OLE server only. It cannot be started as a normal desktop application.
Very likely you have downloaded the software from our website and installed it on your system. The download packages do not contain valid passport files, i.e. valid user licences. After the installation, you have to copy a valid passport file into the program directory.
In the case of SCOUT, the passport file is called scout_passport.wtp. If you installed CODE the name is code_passport.wtp.
In the case of a software purchase you should have received a passport file from us either by e-mail or with the setup CD. If you are evaluating the software you should have received a passport file with a demo licence by e-mail.
I try to use CODE in VisualBasic but I get the error message ‘ActiveX can’t create the object’?
First check if the name of the OLE automation server in the VisualBasic command is correct. The server name of CODE is ‘code.colors’.
If this does not solve the problem, the registration of the OLE automation server is probably incorrect for some reason. When you run the setup program, CODE is registered as OLE automation server automatically. If this action failed, a call of the server in VisualBasic does not work. In this case you can do the registration manually.
Start a Windows command line by clicking on the Windows key on your keyboard followed by the letter ‘r’ (for run). You must have administrator rights to do registrations. If you are logged-in as a normal user, you can right-click the command line in ‘Start/accessories’ and select the option ‘Run as administrator’. Once the command line is available, type in the command
“c:\program files\code.exe” /regserver
where you should make sure that you use the double quotes as shown. The path of the program file code.exe must be adapted to your system, of course, i.e. it should point to the location of your code program.
If you work with different CODE versions on one computer, you might want to use the command
“c:\another_installation_folder\code.exe” /unregserver
in order to explicitly de-register a code program as OLE server.
How can I display the difference of simulated and measured spectra?
Sometimes it is advantageous to inspect the difference of simulated and measured spectra in order to find out about appropriate model extensions. Please read the instructions below to activate the drawing of difference spectra.
Open the spectrum for which you want to see the difference with a right-click in the treeview. Select the local menu command File/Options/Difference/Show to turn on the difference display. This menu item is a checked property: Clicking on it changes its status from checked to unchecked or vice-versa.
The additional menu commands File/Options/Difference/Pen and File/Options/Difference/Line mode are used to control the appearance of the difference curve. Use these settings to clearly separate the difference curve from the simulated and measured spectra. You can use, for example, pen 3 (green by default) and line mode 3 (dashed).